Recently, my husband noticed that a few of his shirts were ready to go in the garbage. One had a hole, and the other was too tight. Well, they were still perfectly good pieces of fabric otherwise, so I saved them from the landfill, putting them in my never ending project pile. I had seen a blog post where this woman repurposed them into aprons. And it seemed like just something easy enough to prevent ,my sewing skill from getting too rusty.
First things first, I take no credit for this tutorial, I’ll share the tutorial I followed down below. I liked this tutorial because it was written in a way I understand and the pictures she included really tied in to the steps I felt I would be struggling with.
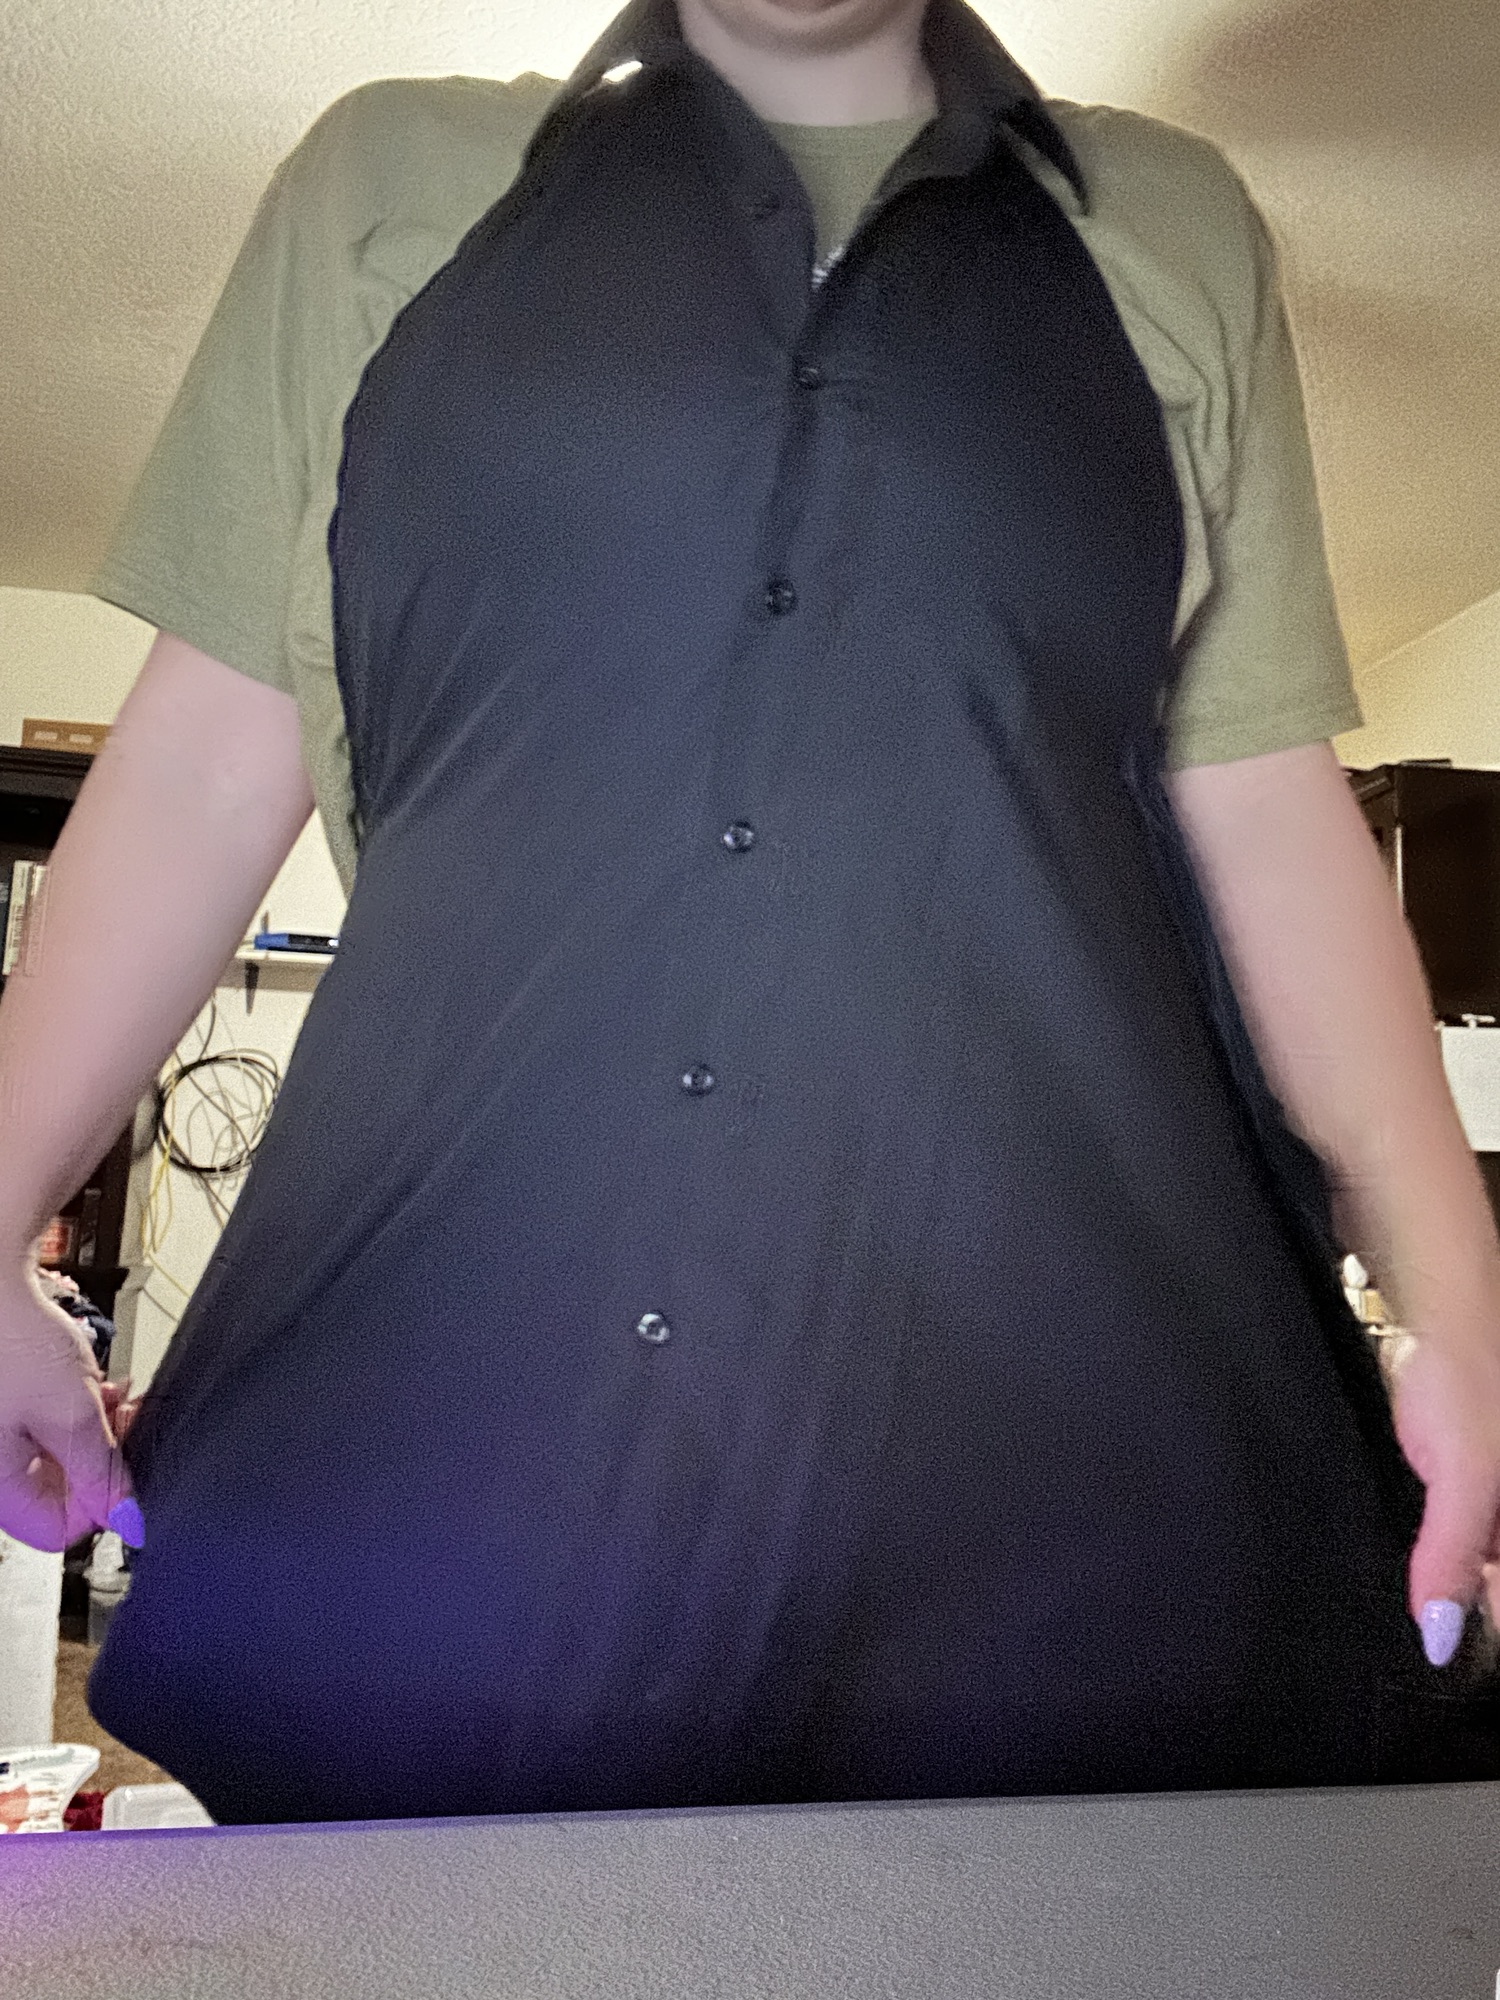
Daniel had two shirts he was getting rid of. The black one, which I worked on first, and a plaid one, which had a hole near the pocket. A small hole, but a noticeable one none the less. The first thing I did was have to cut the back and arms off the shirt. The linked tutorial has great photos for guides on where to cut. Keep all the extra scraps because they will work great to create the Apron ties further down the line.
Once you’ve cut your shirt up we have to make a couple seams so that our material doesn’t fray. If you cut your shirt just before the hem as recommended in the tutorial, you wont need to put a hem on the sides. Just the area you see marked with the clips. Once this is done you have some options here. With how it is right now, is the perfect time to decorate it. Weather it be with some iron on or sew on patches, or maybe you want to add a pocket, now is the time to do so. In fact, when I was looking at different versions of this, I saw some people even cleverly used the cut off arm piece as a pocket! For this project, I left it plain so I would remember the basic steps of how to make it.

Once you hem the main apron piece its gonna be time to create your straps. I cut two straps out of the back piece of the shirt. To do this, you’re gonna need to think about how wide you want your straps. I don’t really like them very wide, so I go for thinner straps.
The way I was taught to do straps or ties is to put good sides together and sew it basically inside out, turning it right side out with a chopstick, and then ironing the straps flat, making sure your only sewing 2 seams so that you have an open seam to turn it right side out. You’ll sew the open seam to the apron which will also close that seam.
And really that’s that! Unless of course your adding pockets, or fringe, ect. Then you might have an extra step (or 3/4). I love this tutorial because it’s such an easy way to recycle an old man’s shirt for a great purpose. And its a great thing to sew for people who want to sew, but are intimidated because there’s no expensive material to buy ( where I live in California, fabric prices are OUTRAGEOUS!)\
If you tried this tutorial, how easy was it for you ? Did you find another way to repurpose a man’s old dress shirt?
