You know the junk mail you always just throw away? What if there was a way to transform that into something beautiful?
I was scrolling Pinterest one evening, while watching tv with Daniel. That’s when I found this smart use of a dollar store splatter guard. They used it to make paper, and other than that, the steps prior to that was quite simple.
I thought this was a great idea because not only does it put your scrap paper to use, its also a creative Christmas Card idea, and it’d be 100% homemade.
If you make your own paper, you’d also be able to put flower seeds in it while it dries, then making seed paper that the recipient could plant after reading.

Materials:
Scrap paper (torn into Pieces)
Water
Screen (I used a dollar store splatter guard)
Blender
Large container

Instructions:
Either shred or rip up your paper into small scraps. You want them about as small as a paper shredder can shred, which is why using your paper shredder for this is perfect.
Your going to want to soak your paper for a few hours, so grab a container, and put some paper in it. Cover with water and let sit a good few hours, or overnight even is good too.
We are wanting to create paper pulp, which to do that we have to combine the water and the paper, into a blender. Most of the videos I’ve watched people use a blender for this. Well I don’t have a typical blender, I have an immersion blender. The process still worked, but I definitely see where a normal blender would have been ideal for this.
Once you have paper pulp, this is where you either want a dollar store splatter Guard, or a paper screen. I personally used a Dollar Store splatter guard, because I didn’t know how easy or hard this would be for my skill level.
And I’m not doing measurements, because i didn’t measure. I made sure there was 2, maybe 3 inches of water in a container that my splatter guard would fit into, and then I added a couple scoops of the paper pulp, stirring it around until it was all nice and mixed.
This is when you put your splatter guard to the bottom of the container you are using, slowly lifting up. You should have the entire splatter guard covered with paper pulp.
This is where I started to differ from the tutorials I watched and read. I put a piece of wax paper on a cutting board, and put it on top of the lifted splatter guard with our wet paper on it. Then I flipped it upside down and got a sponge (a towel also works) to soak up as much of the extra water as you can before lifting the splatter guard.
What your left with, is a very wet piece of paper. It needs to dry completely before you use it. What I did, was periodically go over with a sponge, or sometimes a paper towel, and I’d soak up more water. I also took this all outside in hopes the warm weather we’d been having would help it try out quicker, but of course, the day I did this it was overcast and not nearly as hot as it was previously.
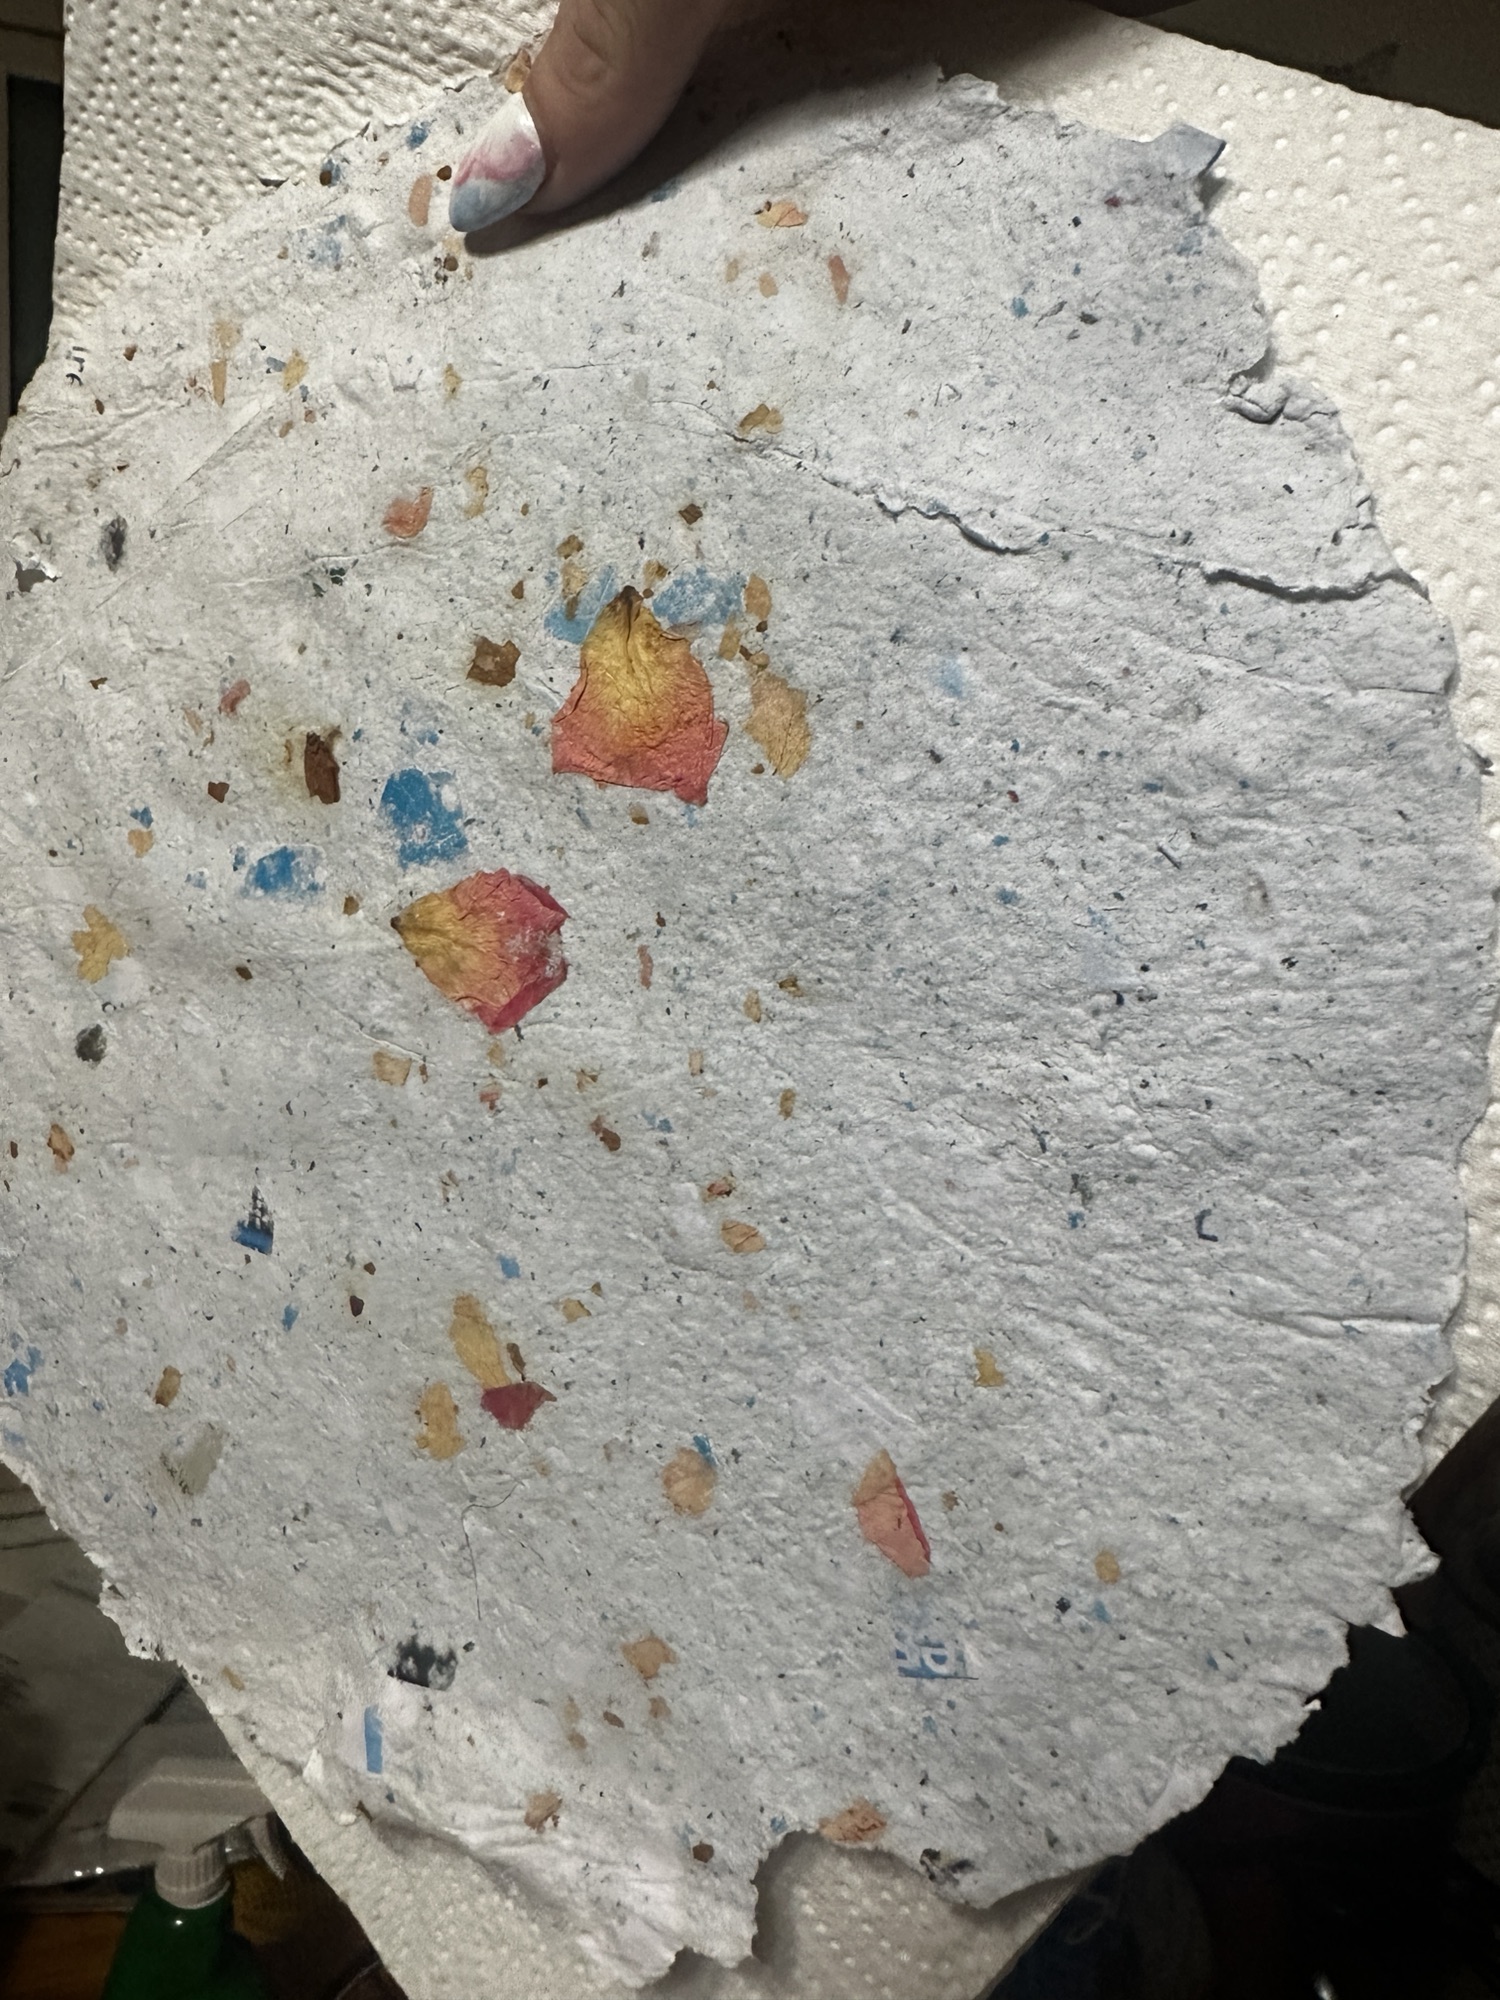
MY paper took about 24 hours to dry completely, But as it dried out it became easier to hold, and carry around.
When you learn how to make paper, you can create less trash because now you can use your junk mail to create art. Right before you lift up your screen is your time to add seeds, or flowers, or anything else you wanted to add. For my first batch I added rose pedals; which is why you can see some in my final product.
My idea?
When I do Christmas cards this year, I’m going to do them with wildflower seeds within them, that way, after Christmas is over, and spring is here, they can plant flowers with the card instead of stashing it somewhere to enjoy once a year (unless your someone who throws their cards away)

What a clever idea! I love the idea of reusing paper that will ultimately be thrown away. your idea to add wildflower seeds to your holiday cards is perfect!