
Since I’ve been doing this blog, I was honestly surprised at how long it took for people to ask if I’ve done my own sourdough starter yet. And well- the answer is No. Even though I make myself seem component in the kitchen, how competent I actually feel in the kitchen are two different things. A case of imposter syndrome you could say.
So I figured so many people are getting on the sourdough bandwagon, so in theory it must be very do able. I can still remember an old co worker telling me just how simple it was. So I finally decided that with now staying at home, and working on my blog, I have time to learn how to make a sourdough starter, epically after Daniel asked why I hadn’t yet.
Materials:
- Flour
- Water
- Jar with loose fitting lid.

Directions:
Day 1 :
Add 1/2 cup flour and 1/4 cup of water to a jar. I used a mason jar. Stir the flour into the water and cover loosely. Keep in a corner of your kitchen that is away from the direct sunlight. Day one it just looks like flour and water. A really goopy thick mess.
Day 2:
I did notice a slight bit of change when I went to feed my starter on day 2. I discarded about half of it, and fed it with another 1/2 cup of flour and 1/4 cup of lukewarm water. I gave it a good stir and put it back to rest for the next 24 hours. I feel like it was starting to have the slightest smell, but I’m not positive enough to be completely sure.
Day 3:
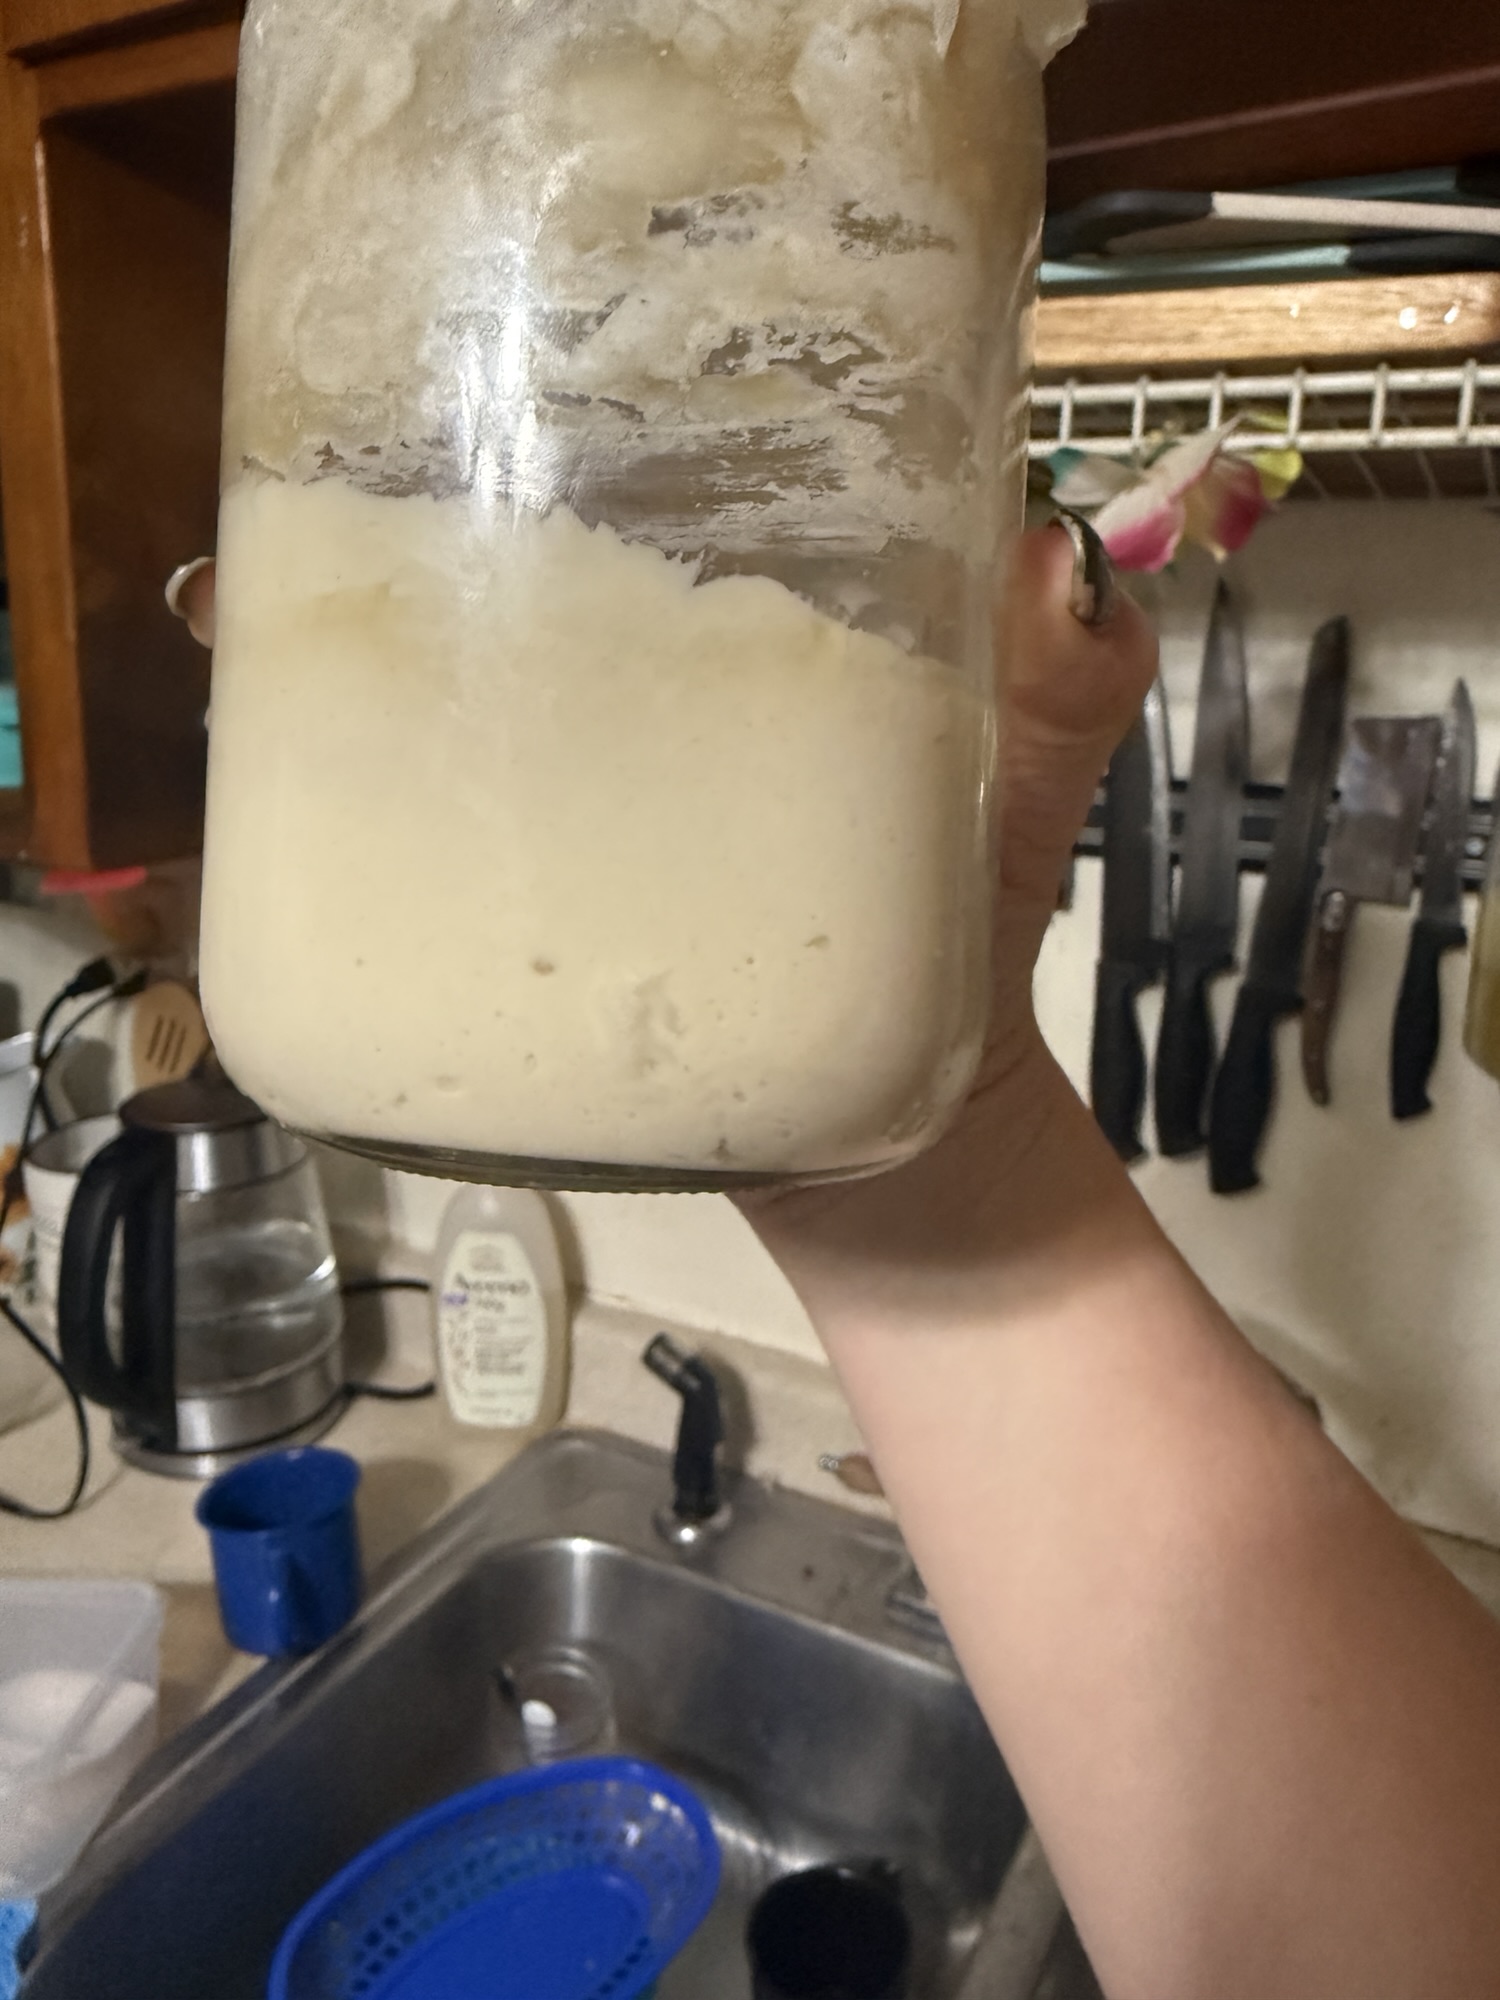
According to the tutorial I was following, day 3 is when you should be noticing changes, weather it be smell, or bubbles forming, supposedly you should notice something changing about your starter. In my case, before I even opened the lid I could see bubbles on the outside forming. For day 3 you’re going to do the same thing, scoop out about half of your starter, add another 1/2 cup of flour and 1/4 cup of lukewarm water. Give it a stir, cover and let rest.
Day 3 is when I finally felt brave enough to start looking at the bread making process. until this point I was just looking one step at a time. It somehow just makes the whole process seem easier for me. Now that I can experience just how simple it is, I felt comfortable enough to look at the next step, which was making the bread.

Day 4:
Today when I looked my starter was alive, but we’ve reached a lull. Not much activity happening. So, I just continued to discard and feed. Todays the day I was supposed to find a rubber band to put around it to see how much its risen, but I surprisingly didn’t have any! According to the tutorial I’m following, days 4 and 5 are kind of a lul in the process, and I can now see what they mean.
Day 5:
Not much change with day 5. I resumed discarding and feeding. Almost to baking day, so the excitement is rising!
Day 6:
Discarded and fed. Started watching videos of the actual making of the sourdough loaf process. Looking forward to homemade sourdough bread with homemade butter!
Day 7:
So according to the tutorial, by day 7 you’re typically ready to make your bread. But, for whatever reason while my starter was healthy and alive, it wasn’t quire ready to make bread. So I went ahead and discarded and fed, putting a hair tie on the jar so I could monitor how much it rises. I’ll be doing this and then I’ll do another float test to see if its ready, but considering it hasn’t quite doubled in size yet, I think its safe to say it will be at least 1-3 more days before its ready.

In Conclusion:
I’m looking forward to sharing how my first sourdough loaf turns out, and the closer it gets to baking with my starter, the more excited I am. While I can work with your typical yeast, everyone I speak to loves to bake with sourdough, and honestly, my family LOVES sourdough bread, so it’s a win win!