
Now that I have my food dehydrator, I’ve been reading up on dehydrating food, and one book I read recently, was an old book given to me by my aunt, after my grandmother passed away. I glanced at it when I first got it, but It stayed on the shelf, since it was one of thoes books that you only look at when your trying to learn something, or looking up something specific.
Well, Being that I’m doing my blog full time now, I have the time to read up on things like dehydrating food, and canning and such, so one night, while Dani was in her 4 month regression, I picked up the book when i was nap trapped. And they gave a good way of drying herbs. Something I’d seen in games such as ‘The Sims’ but never thought about using as a piratical way of drying herbs.
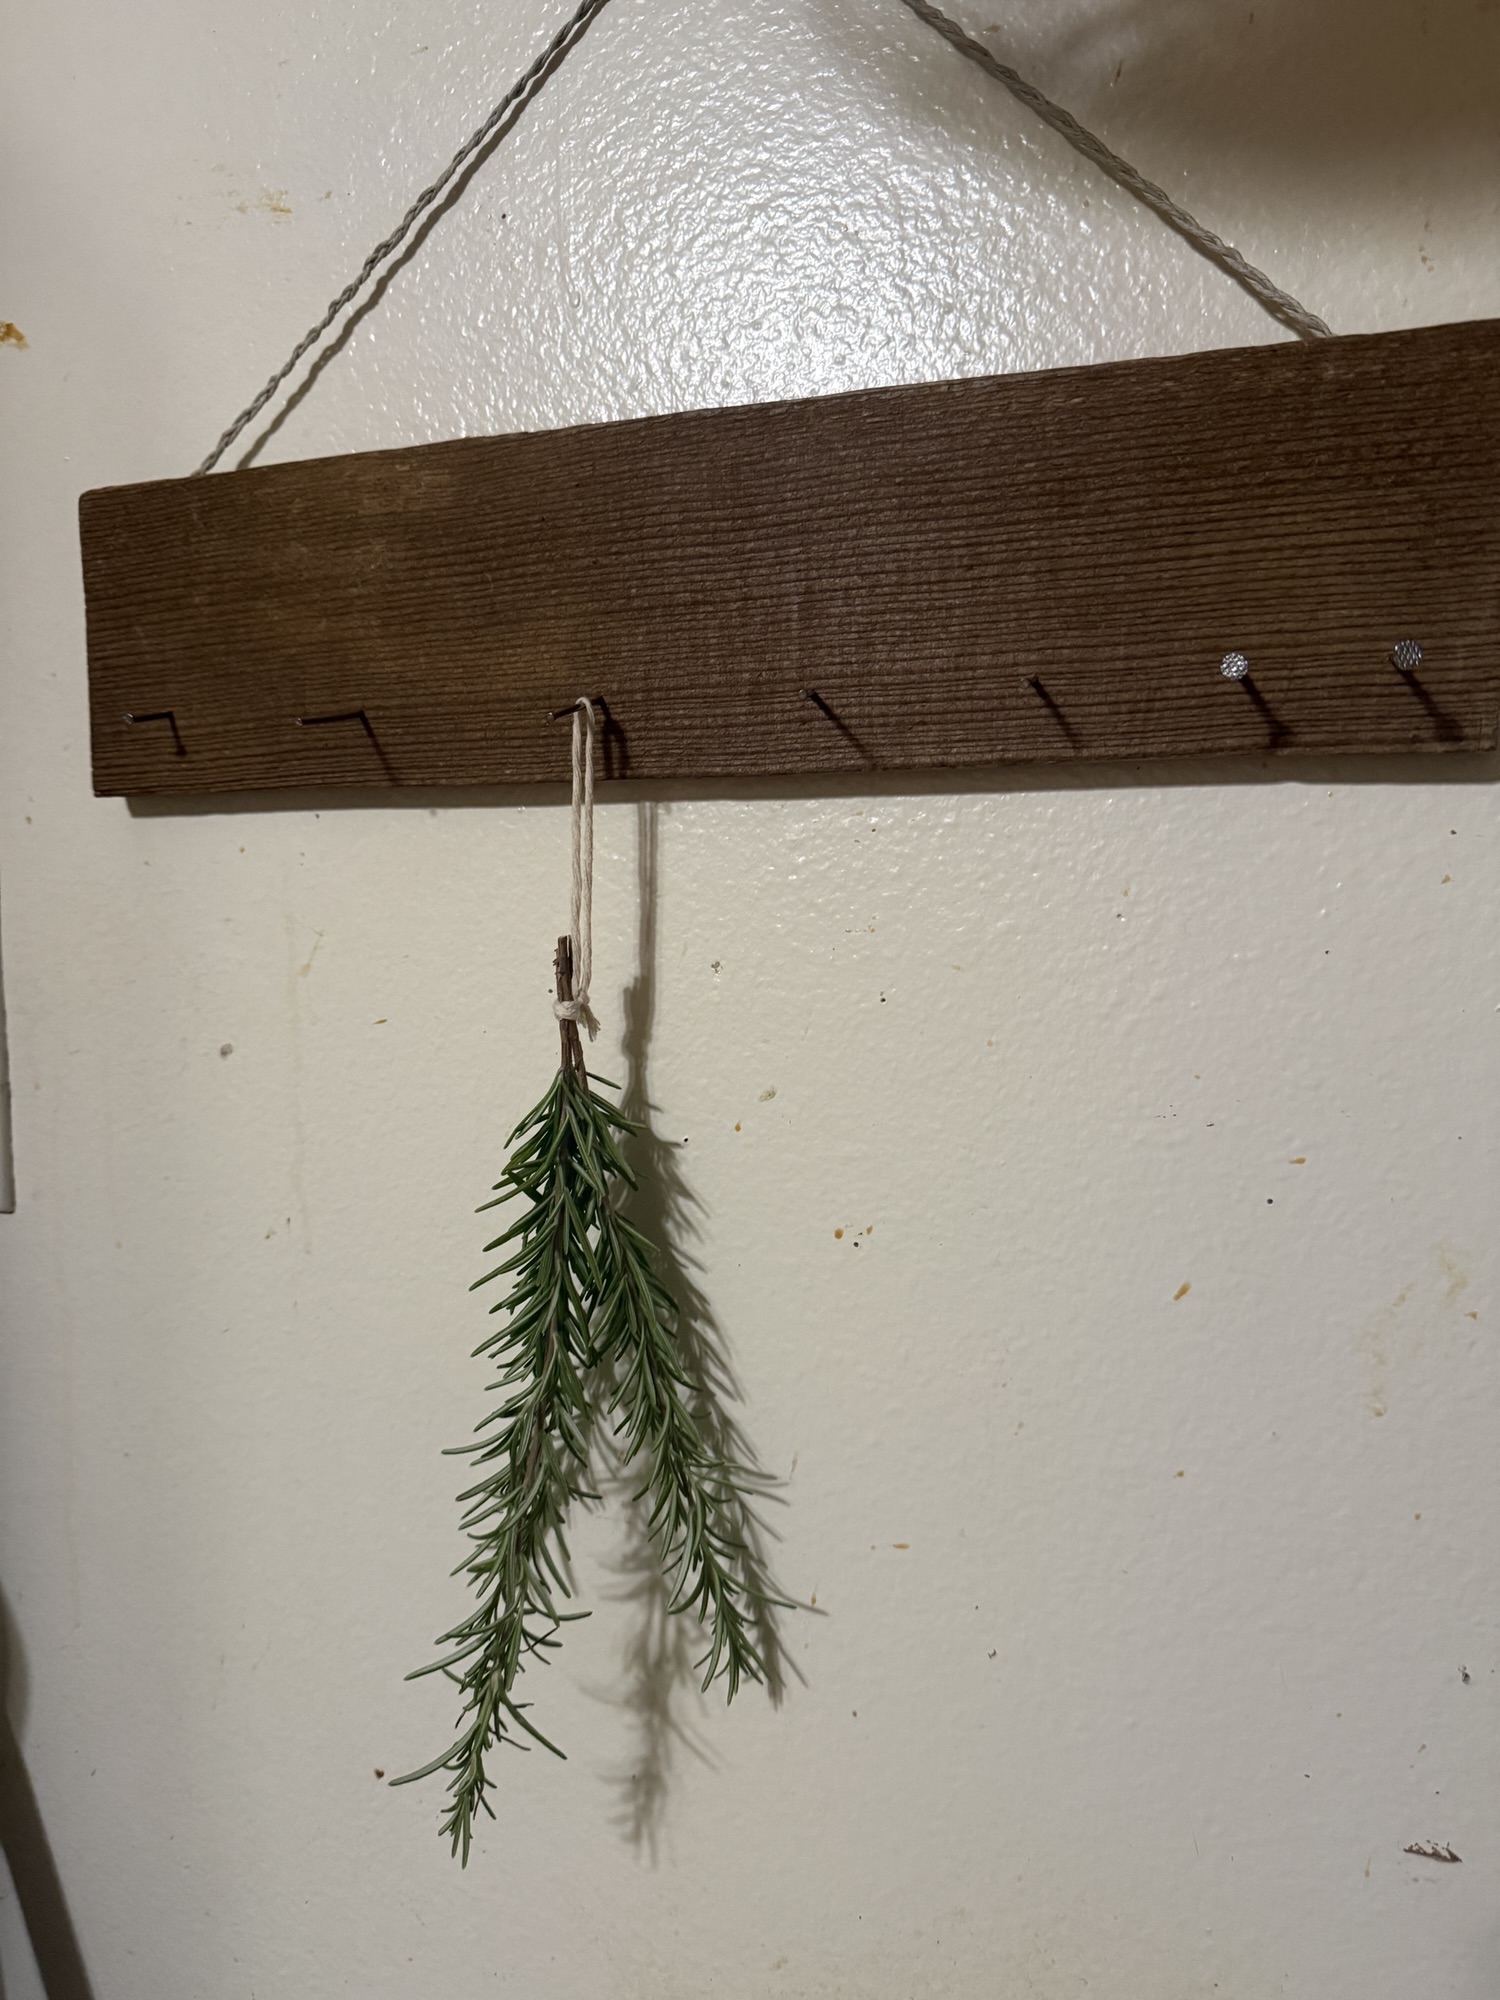
It just so happend that my husband did a massive back yard and shed clean out, getting rid of a LOT of stuff, including wood. When I was dealing with the trash that week, I didn’t think anything of it, and chucked the wood with the trash bags. Until it came time to the last load. Thats when I noticed this plank of wood and thought “That would fit 4-5, maybe even 6 herb bundles, and would look cute on the wall” I had sand paper from a different project. I had no idea if it was the kind I needed, but what would be the harm in using it on wood that was just going in the trash otherwise anyway?

Construction:
So before anything I wiped off the dust and dirt that was on it. I tested the different kinds of sand paper I had, and used the kind that was doing the best job of sanding and smoothing it out. Had I used the correct sand paper would it have turned out better? Oh probably.
Once it was nice and sanded down I found some Wood Stain I had from another project. I went ahead and stained it. I hadn’t decided at this point if I was going to use teacup hooks or small nails as the ‘hanging’ device. My thought is that the herbs will be in a bundle, then tied with butchers twine. The twine will then hang from – either a teacup hook or a small nail sticking out. Being that this is a ‘from scraps’ project, it might even include both! The best part about projects ‘from scrap’ is that there’s no right or wrong way for it to look!
Since this is designed to be a craft using only things you have laying around the house, I will be using some nails I found while Daniel was cleaning up things around the house. I’m also going to use some hemp beading twine I’ve had for a while and braid it to make away for it to hang on the wall. Since this project is more about making sure it works more than how it looks. With a staple gun, hot glue, or whatever you have on hand, adhere your braided twine/rope to your wood before hammering in your nails. We want to do it this way because otherwise your wood wont lay flat otherwise. Once your twine or rope is adhered on to the board, now we can hammer in the nails. Hammer in as many nails as you find necessary. I hammered in more than I probably need, but I’d rather have too much than not enough.
Once that’s done you need to find a perfect spot for it to hang. I don’t like where mine is right now, so I might need to move a few things in the kitchen- but that’s a discussion for another day.